


How to Perfectly Season and Care for Your Cast Iron Skillet
How to Season and Care for a Cast Iron Skillet
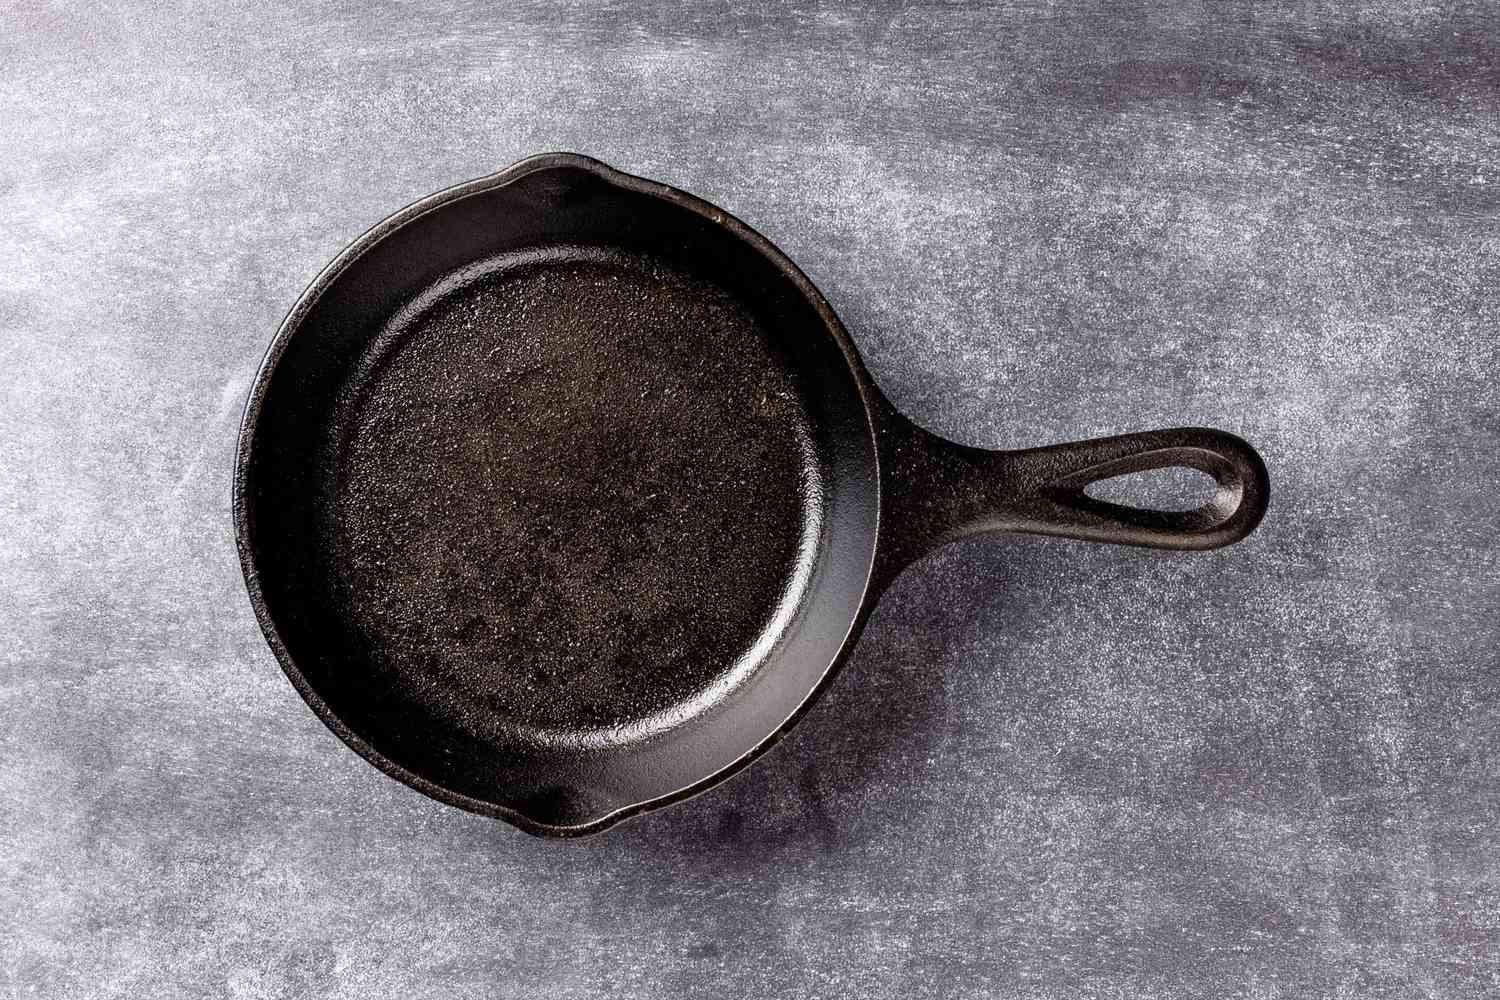
A well-seasoned cast iron skillet turns jet black over time and develops a naturally slick cooking surface that lasts for decades.
Cast iron is one of the most durable pans you can own — but only if you treat it right. The good news? Caring for cast iron is much simpler than most people think. Season it once, clean it quickly, and cook with it often. That’s really all it takes to keep a cast iron skillet performing beautifully for the rest of your life.
- What seasoning actually is (and why it matters)
- How to season a new or stripped skillet from scratch
- How to clean cast iron after every use
- How to fix rust and restore a neglected pan
- Long-term care, storage, and what NOT to do
What Is Cast Iron Seasoning?
Seasoning is not a spice and it has nothing to do with flavor. It is a thin layer of polymerized oil baked into the surface of the iron that creates a natural, protective, semi-nonstick coating. Every time you cook with fat in a cast iron pan, you are adding another microscopic layer of seasoning to that surface.
A new skillet starts rough and dull. After proper seasoning and regular use, it gradually turns deep black, becomes easier to cook on, and gets better with every single meal. That is the magic of cast iron — it improves the more you use it.
💡 Quick rule: Seasoning = thin oil + high heat + time. Too much oil makes it sticky. Too little heat means it never polymerizes. The key is always a very thin layer baked at high temperature.
What You’ll Need
🛒 Recommended Cast Iron Skillets
- Larder & Vine Enameled Cast Iron Skillet 10.25" - Bondi color
- Caraway Cast Iron Skillet 10.5" - Light Mist
- Caraway Cast Iron Skillet 12" - Gray
Part 1: How to Season a New or Stripped Skillet
Whether you just bought a new Lodge skillet or you’re restoring an old one, the seasoning process is the same. Plan on doing it 3–4 times back-to-back the first time to build a solid base layer. Each round takes about an hour.
Wash the skillet with warm soapy water
This is the only time you should use dish soap on your cast iron. It removes any factory coating, residue, or rust. Scrub thoroughly, rinse well, and dry it completely with a kitchen towel right away. Do not let it air dry — cast iron starts to rust within minutes of contact with water.
Dry completely on the stovetop
Place the skillet on a burner over medium heat for 2–5 minutes until all remaining moisture evaporates. You’ll see the surface darken slightly as the last water burns off. This step is critical — any moisture trapped under the oil will cause bubbling or poor adhesion.
Apply a very thin layer of oil — inside and out
Pour a tiny amount of neutral oil (about a teaspoon) onto a paper towel. Rub it all over the entire skillet — the cooking surface, the outside walls, the bottom, and the handle. Then take a clean, dry paper towel and wipe off as much as you can. The pan should look almost dry, not shiny or wet. Too much oil is the most common mistake and will leave a sticky, gummy surface.
Bake upside down at 450–500°F for one hour
Preheat your oven to 450–500°F. Place a sheet of aluminum foil on the bottom rack to catch any drips. Put the skillet upside down on the center rack — this prevents oil from pooling on the cooking surface and creating uneven spots. Bake for one full hour.
Cool in the oven with the door closed
Turn off the oven and let the skillet cool completely inside with the door closed. This allows the seasoning to further bond with the iron as it cools slowly. Do not rush this step or move the pan while it’s still hot.
Repeat 2–3 more times
One layer of seasoning is not enough to cook on comfortably. Repeat steps 3–5 two or three more times for a solid, even base. After 3–4 rounds, your skillet will have a noticeable dark, smooth finish and will be ready for everyday cooking.
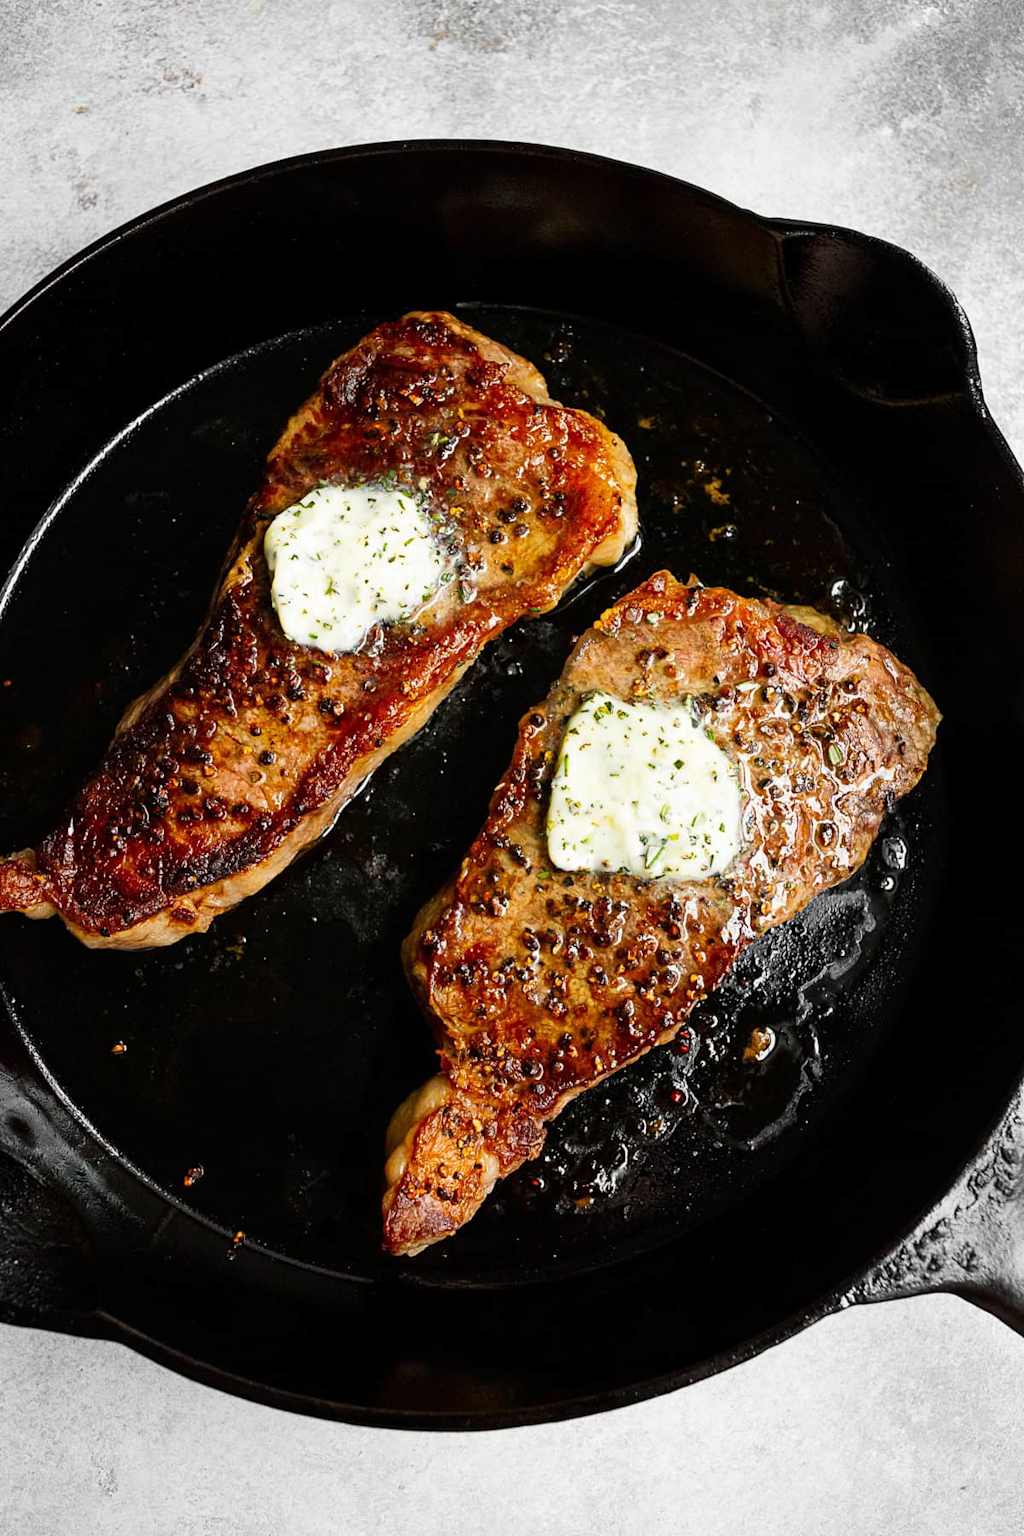
A well-seasoned cast iron skillet produces the kind of crust on proteins that no nonstick pan can match.
Part 2: How to Clean Cast Iron After Every Use
Daily cast iron care is simple when you do it right away. The goal is to remove food without stripping the seasoning. The whole process takes less than five minutes.
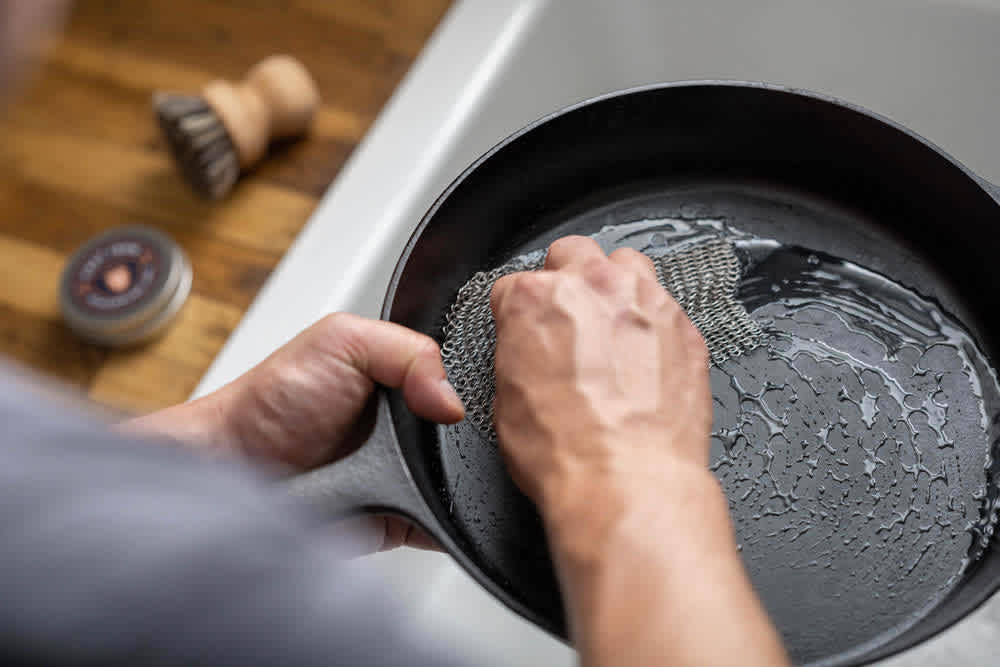
A chain mail scrubber removes stuck-on food quickly without scratching or stripping the seasoning layer.
Clean while it’s still warm
Rinse the skillet under hot running water while it’s still warm from cooking. Stuck food loosens much more easily on a warm pan. Use a stiff brush, chain mail scrubber, or coarse kosher salt for any stubborn spots. For really stuck food, add a small amount of water to the pan and heat it briefly on the stove to loosen everything up.
Dry immediately and completely
Wipe the skillet dry with a kitchen towel, then place it over a burner on low heat for 2–3 minutes. You want all moisture gone before storing. Even a small amount of water left in the pan can cause rust overnight.
Apply a tiny layer of oil while still warm
While the pan is still slightly warm, rub a very thin film of oil onto the cooking surface with a paper towel. This protects the seasoning from moisture and keeps the surface conditioned between uses. Wipe off any excess — it should look barely coated, not oily.
Store in a dry place
Store your skillet in a dry cabinet or on a hook. If you need to stack it with other cookware, place a paper towel between them to prevent scratching and absorb any residual moisture. Never store cast iron with a lid on — trapped air moisture causes rust.
Part 3: How to Restore a Rusty Skillet
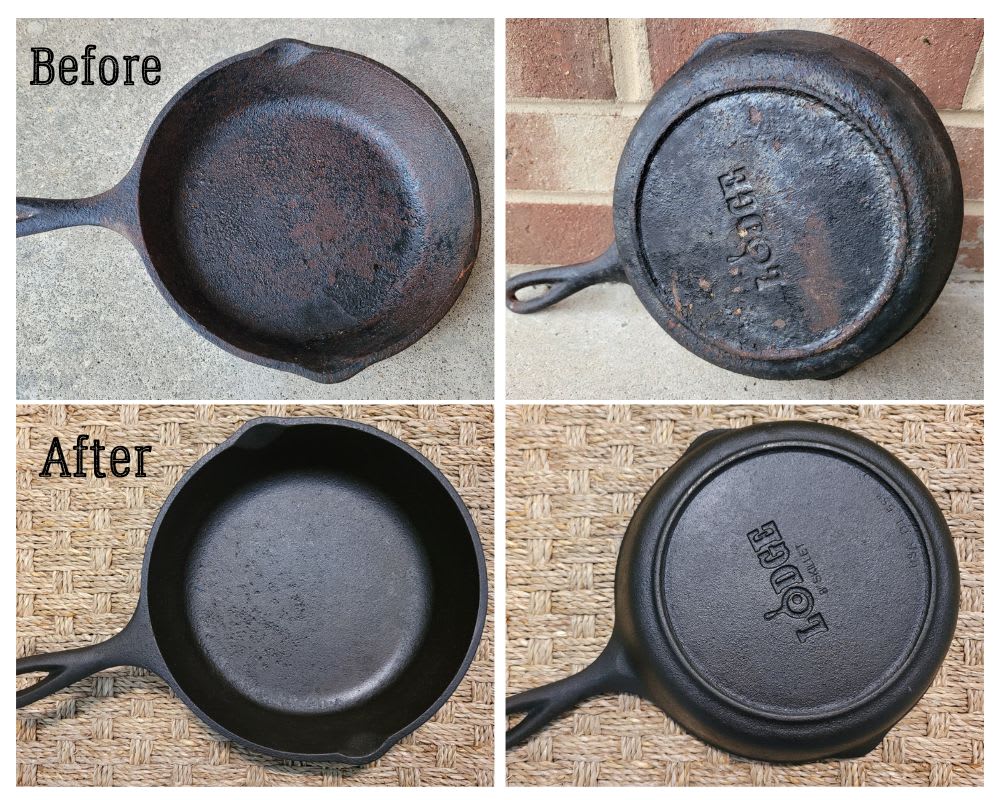
Rust looks alarming, but it does not ruin a cast iron skillet. Even heavily rusted pans can be fully restored with a little elbow grease.
Found a rusty skillet at a thrift store or neglected your pan for a few months? No problem. Cast iron is almost impossible to truly ruin — rust is just surface oxidation, and it can always be removed and re-seasoned.
Scrub off all the rust
Use steel wool, a chain mail scrubber, or a stiff metal brush to scrub every bit of rust off the surface. This will also strip all the existing seasoning, but that’s fine — you’re starting fresh. Scrub until you see bare, gray iron with no orange or brown spots remaining.
Wash with soap and rinse well
Wash the stripped skillet with dish soap and hot water to remove all rust particles and loose debris. Rinse thoroughly.
Dry immediately and heat on the stove
Dry with a towel immediately, then heat on the stovetop for a few minutes to evaporate all remaining moisture. Bare iron rusts fast, so move quickly to the next step.
Season from scratch (3–4 rounds)
Follow the full seasoning process from Part 1 above. Apply a thin layer of oil and bake at 450–500°F for one hour. Repeat 3–4 times. The pan will be fully restored and better than it was before.
Cast Iron Do’s and Don’ts
✓ DO
- Cook with oil or butter every time
- Clean while the pan is still warm
- Dry immediately after every wash
- Apply a thin oil coat before storing
- Use it on any heat source (gas, electric, induction, campfire)
- Put it in the oven — cast iron is fully oven-safe
- Cook bacon, burgers, and cornbread often — it builds seasoning fast
✗ DON’T
- Soak in water or leave wet
- Put it in the dishwasher
- Cook highly acidic foods often (tomato sauce, citrus) until well seasoned
- Store with a lid on
- Use too much oil when seasoning
- Air dry after washing
- Heat an empty skillet on very high heat for extended time
Troubleshooting Common Cast Iron Problems
| Problem | Cause | Fix |
|---|---|---|
| Food sticking badly | Not enough seasoning layers, or pan not preheated | Preheat pan for 3–5 minutes before adding food. Re-season if needed. |
| Sticky or gummy surface | Too much oil during seasoning | Bake the skillet at 375°F for 1 hour to fix it. Wipe off pooled oil first. |
| Rust spots | Left wet or stored in humid area | Scrub with steel wool, re-season fully. |
| Seasoning flaking off | Improper seasoning or harsh scrubbing | Remove loose flakes with a scrubber, re-season. |
| Metallic taste in food | Bare iron exposed from stripped seasoning | Re-season the pan. Avoid acidic foods until seasoning is rebuilt. |
| Uneven dark patches | Normal — patchy seasoning early on | Keep cooking. It evens out naturally with use. |
Best Foods to Cook in Cast Iron
Not all foods are equal when it comes to cast iron. Some actively build seasoning while others can damage it if cooked too often on a young pan.
🍳 Great for Cast Iron
- Bacon and sausage
- Steak and burgers
- Fried chicken
- Cornbread
- Roasted vegetables
- Pancakes and eggs (once seasoned)
- Skillet cookies and cobblers
⚠ Use With Caution
- Tomato-based sauces (strips new seasoning)
- Citrus-heavy dishes
- Wine reductions
- Delicate fish on a young pan
- Braised dishes with high acid content
The Simple Truth About Cast Iron
Cast iron is genuinely the most low-maintenance cookware you can own once it’s properly seasoned. The entire care routine comes down to three steps: clean, dry, oil. Do that consistently after every use, cook fatty foods often, and your skillet will be virtually nonstick within a few months.
Many American families have passed the same cast iron skillet down through generations. With basic care, yours can do exactly the same. 🥊
Frequently Asked Questions
SEO title: How to Season and Care for a Cast Iron Skillet – Complete Beginner’s Guide (2026)
Meta description: Everything you need to know about cast iron care — how to season a new skillet, clean it without ruining the surface, fix rust, and keep it nonstick for life.
URL handle: how-to-season-care-cast-iron-skillet